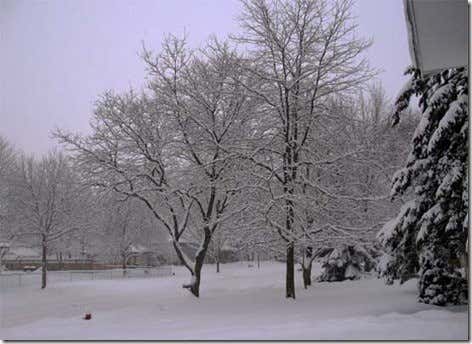
Create a new Flash document. To do this, go to File >New. Select Flash Document. Click OK. We will use the image of the snowy backyard for this. Import the image to your library by File > Import > Import to library. Then select the image to import in the library.

Drag the image from library to your stage area. Then, resize your stage area to the size of your image. To do this, click on the image and look at the properties panel
which is found at the bottom by default.
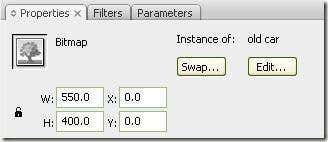
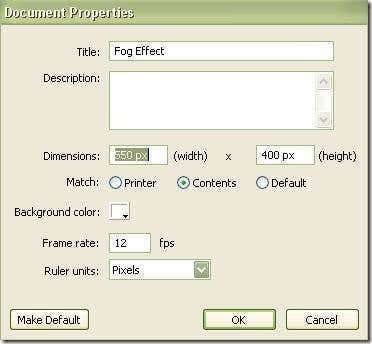
Remember the width and height then resize your stage area.
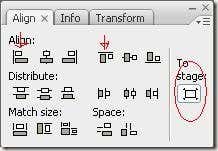
Align your image by clicking on the image. And from the Align panel make sure you click first To Stage icon, then Align Left Edge and Align Top Edge.
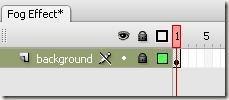
Rename the first layer to “background” then lock the layer.
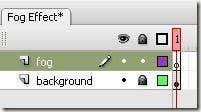
Create a New layer, and we can name it to “fog”
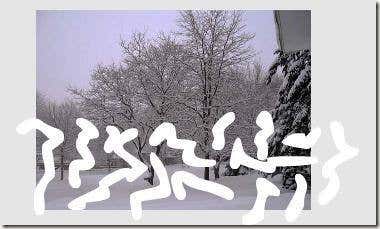
Select the Brush Tool, and then set the stroke color to white. Also choose the medium Brush size.

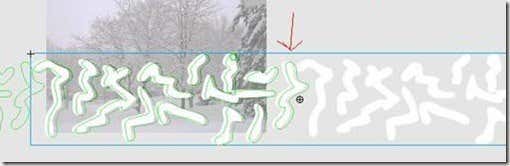
Now at layer 2, draw some random wiggles across the stage area at the lower part.
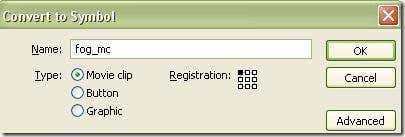
Select everything or all the wiggles you draw, with the Selection tool. Then hit on F8 or go to Modify > Convert to Symbol… F8, to convert this to a Movie clip. You can name the clip to “fog_mc”
Double click on the movie clip to edit it.
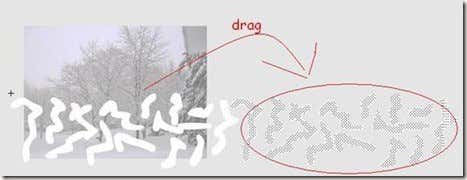
Select everything again with the Selection tool. Then, hold on to your Shift + Alt button. While holding on to these buttons, drag them to the right to make a copy.
Scroll the timeline up to frame 200 and press F^ to create a new keyframe

We will then need to add a motion tween from frame 1 to 100 by right-clicking between them, and selecting “Create Motion Tween”
Select frame 200 to select the movie clip. Then hold down Shift button so you can drag the wiggles to the right, until it is almost matching up the same wiggle shape. Notice that the objects are released on a different position.
Go back to scene 1. You can also preview the loop by pressing Ctrl + Enter
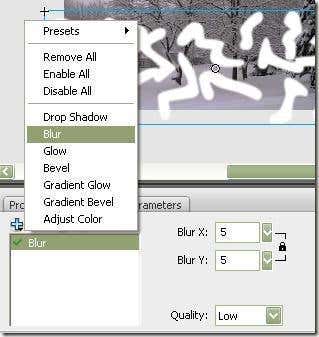
Now we will need to transform these wiggles to a fog effect. To make this to a fog effect, we need to blur it. To do this, select the movie clip. Go to Filters tab, then click on the plus icon/button to add blur.
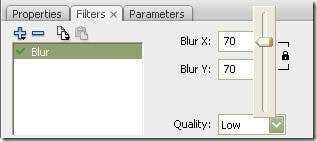
Set the Blur X and Blur Y to about 70, with the Quality Low
And we are done. You can preview it by clicking Ctrl + Enter
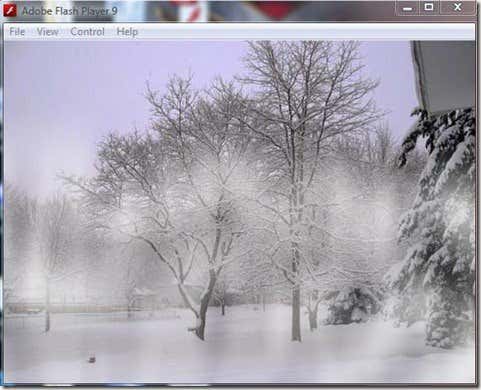
Here is the picture of the original scenery so you can compare:

No comments:
Post a Comment